The bump mapping is one of the per pixel lighting techniques, which means that all the lighting calculations (application of the
light equations) are calculated for each pixel. The power of the current graphics processors (or gpu) makes it possible to reach this
precision while preserving acceptable frame rates.
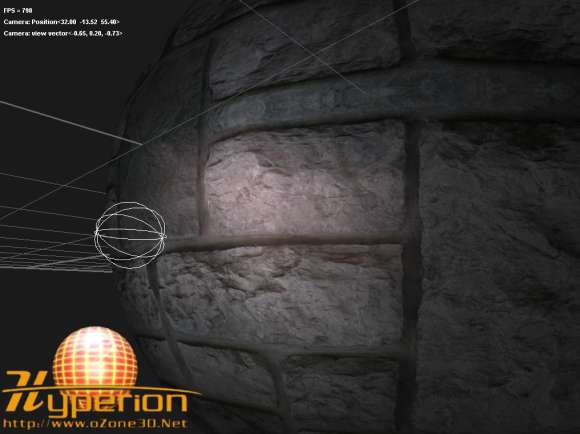
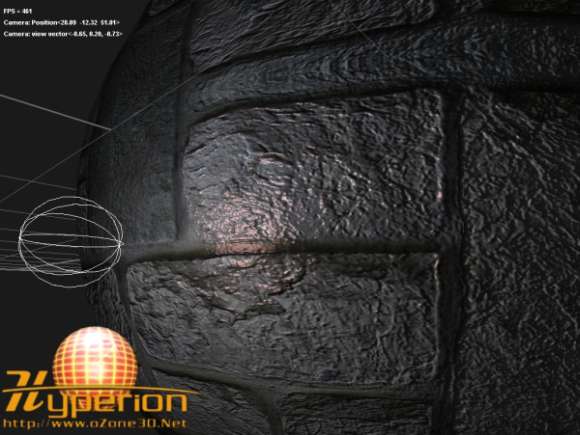
Indeed, the demonstration which accompanies this tutorial shows a sphere with a simple texturing rendering that features a per vertex lighting
(torus_simple_mapping_test.xml) and the same sphere rendered with the bump mapping technique (torus_bump_mapping_test.xml).
In the first case, the FPS is around 900 (usual rate on a development workstation, with a GF7800GT graphic controller) and in the
second case, the FPS falls around 500 but with a much better rendering quality as shown on the following images:

fig.1 - Simple texturing rendering with per vertex lighting.
fig.2 - Bump mapping rendering with per pixel lighting.But these differences between the performances are due to two major reasons: first, the bump mapping is basically a
multitexturing technique. In our case, two textures are used for the bump effect. Accessing several textures is more penalizing than
dealing with one texture. The second reason is that all the lighting calculations are made for each pixel.
Now, let us analyze the bump mapping technique. The main goal of the bump mapping is to simulate some relief on a flat geometry. That
makes it possible to render at a lower CPU cost, objects that have a very detailed appearance.
The bump mapping technique is very simple since it consists in using a normal vector that is deformed at the level of the pixel
being processed. But before going further in the details of the code, it is first necessary to recall the light equations which we
will implement.